
Have you ever been in a situation where you have a problem and you know you need to figure out how to fix it, but do not know what to do or how, or when to even start? I know just about every problem has a solution. We do not always like the solutions, they are there though.
The thing is I tend to be somewhat impatient and when I want to solve a problem and have an idea, I want to try and implement the idea right away. I usually start with the design. I have a drawing book that I sketch out ideas in and then I try to build it. Once built, I price out the items as to have a price point. Sometimes I will experiment with something totally unpractical to see if the original idea I created was even feasible.
Here’s an example.

I never claim to be an expert on something. I do have a creative mind and think how can I make something work with little time and little cash flow.
Practical fixes are how I like to tackle challenges even if its a temporary fix becoming permanent later. I find that because I am such a visual learner, having even a makeshift idea, or prototype, helps me have clarity as to what I want or need.
I am going to get right to the point here.
I have an older house which I knew needed work when I bought it. After many renovations, I am blessed with a beautiful big deck and one half of it is covered with a patio cover.
Now here’s the thing. It is a split level home and and so the deck is high up and runs the length of the house in the back. The wind whistles past the outside corner and swings around through the deck like a serious wind tunnel. So strong in fact that my deck chairs move, I have had things fly off and even the trampoline flipped over.
I don’t mind the wind, its the way it blows in and through the deck that gets me.
As storage and large square footage is in shortage, I had built deck benches big enough to place large totes under and I am now trying to find ways to use the square footage of my outdoor space all year round.
Need to be Safe
The thing is I really like to BBQ in the winter too. Last year I had my BBQ under my patio cover but it got so hot it smelt like burning plastic and it made me really nervous. To have the BBQ under shelter there are certain measurements that you must respect if you do not want to set your house on fire. So I have the BBQ facing inwards with ventilation all around from the outside and a wooden roof 34″ high with tar paper above that.
Now what?
This though created an issue with how I was going to build a wall or wind breaker.
So, I tried to put a line of poly plastic vapor barrier dropping from the roof to the deck to block the wind.
NOPE, that didn’t work. the winds were so strong the vapor barrier kept ripping off and flapping around in the wind. I tried to add temporary 1 x 4 strapping as a frame, however the plastic would still flap and come apart.
Super Annoying 
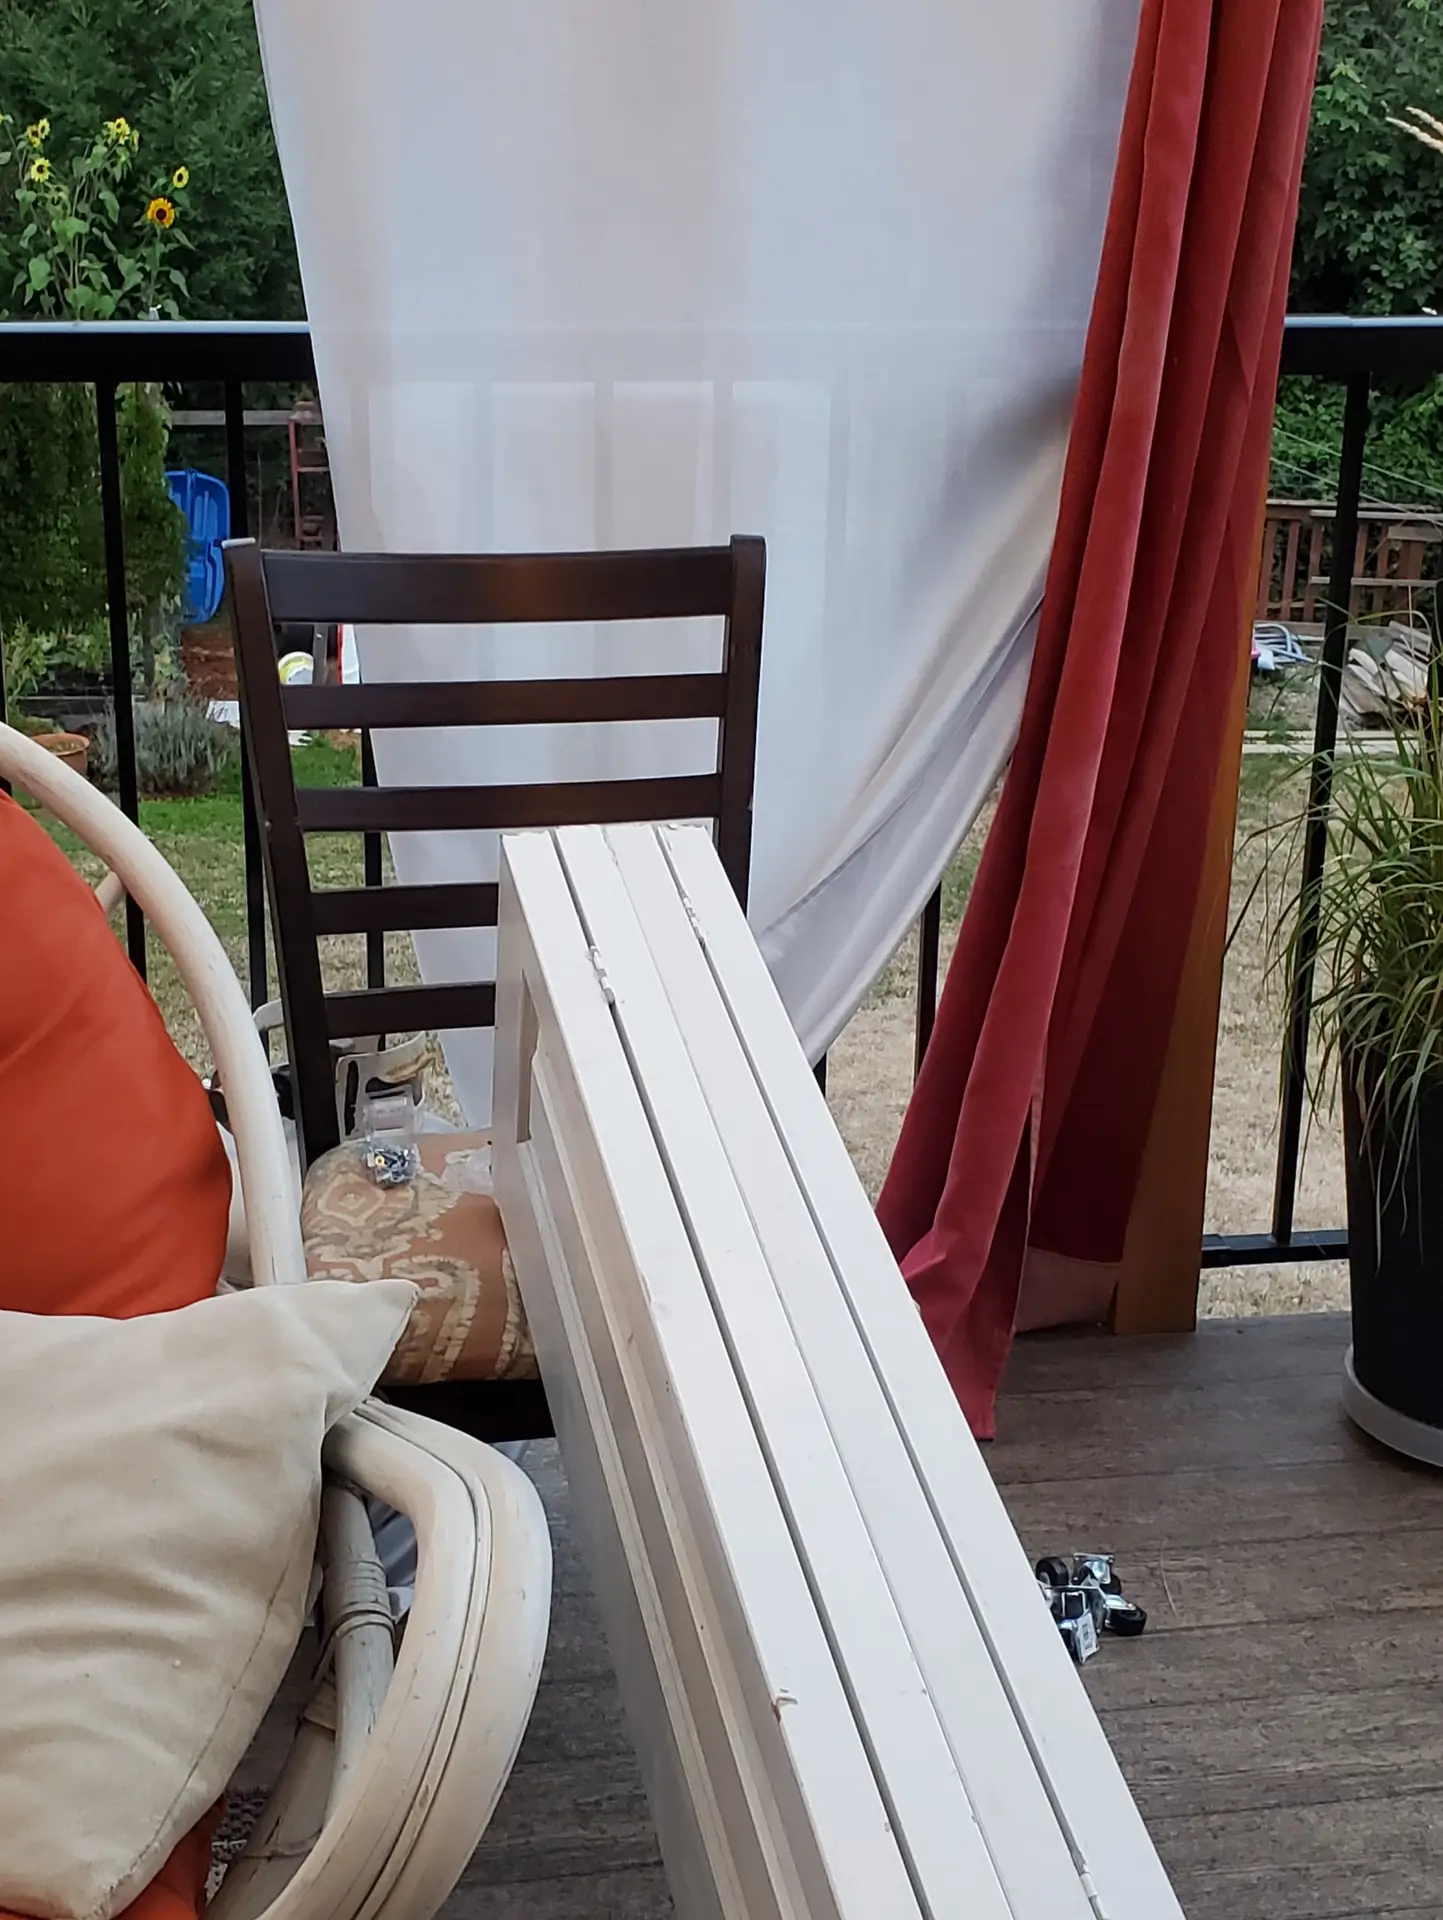
Then one afternoon I was playing around on Facebook marketplace and found these bi-fold doors being given away. I went to look at them and found that they would be perfect for the idea I had.
Now I realize that this is a prototype design, and so I was really hoping it would work.
I brought them home and placed them against the area I was thinking on the deck. After playing around a bit, I realized that the doors would be awkward to move if I wanted to slide the doors open.
Hmmmm, what would work? 
One thing I learned that when you live on your own or as a single adult you want things to be easy. A lot of the times I am not able to move furniture or items around because they are heavy and weirdly shaped. So on the deck I thought wheels as they offer stability and would help roll the doors. One thing however, make sure the wheels are the swivel type or the door will not move easily.


Now the thing is they are bi fold doors and therefore I needed to figure out what to do to keep them from getting wet. At first I was going to line all the doors with poly plastic vapor barrier, but then I liked the idea of being able to slide them open so I wrapped each section of the door separately. I literally just stapled it on after cutting into strips. A tad finicky but not hard.


I then had to figure a way to secure it and so set out to buy a few latches and after a few trips to Home Depot, I found some and installed. We haven’t had a serious storm yet so watch my stories to stay updated.
The final result looked great and even functioned great. It did take me a day to finish, however it cost me less than $40, and now I will be able to figure out what material I can use in the permanent door that will not break the bank.


And there ya have it.

Well since this was a random project, I thought my perfectionism would take over and not let me make it. I allowed myself to not be perfect because it was a prototype and it still turned out ok.
Let me know if perfectionism gets in your way when doing a random project. What do you do to over come those nagging words telling you to redo it?
In the mean time, stay real, stay positive and never give up.
Don’t forget to follow my Facebook page and check out some random videos posted on Instagram for a laugh or two. Chow